Recipe Options
The Recipe Options screen lets you configure all the settings for your recipe. Access it by clicking Details in the recipe navigation dashboard.
Recipe Identity
| Option | Description |
|---|---|
| Recipe Name | Click to edit the recipe name inline |
| Standard/Prep Toggle | Switch between Standard (a regular recipe) and Prep (a recipe that can be used as an ingredient in other recipes—like sauces, stocks, or doughs). See Prep Recipes for more details |
| Shelf Life | (Prep recipes only) How many days the prep stays fresh after production |
Servings and Yield — Critical for Costing
These two fields drive cost calculations throughout the system. Getting them right ensures accurate pricing across all your recipes and menu items.
Servings (Required)
Number of portions the recipe makes.
| What it calculates | Cost Per Serving = Total Recipe Cost ÷ Servings |
| Where it's used | Menu item pricing—when you add a recipe to a menu item, the system multiplies cost per serving by the number of servings on the plate |
| Example | A $20 recipe with 4 servings = $5.00 cost per serving |
Yield
Total output quantity and unit (e.g., "4 cups", "2 quarts", "1.5 kg").
| What it calculates | Unit Cost = Total Recipe Cost ÷ Yield Quantity |
| Where it's used | When this recipe is used as an ingredient in another recipe, the system uses unit cost to determine how much that portion costs |
| Example | A $10 sauce recipe that yields 2 liters = $5.00 per liter. If another recipe uses 500ml of this sauce, it adds $2.50 to that recipe's cost |
Important
If you're creating a prep recipe to use in other recipes, always set a yield with the appropriate unit. Without it, the system can't accurately cost recipes that use your prep as an ingredient.
Organization
| Option | Description |
|---|---|
| Category | Assign the recipe to a category for organization and filtering. Click to search or select from your existing categories |
| Tags | Add flexible labels to your recipe (e.g., "quick", "vegetarian", "gluten-free", "summer menu"). Type to search existing tags or press Enter to create new ones |
Tips for Organization
- Categories work best for broad groupings (Appetizers, Main Courses, Desserts, Sauces)
- Tags are flexible and can overlap (a recipe can be both "vegetarian" and "quick")
- Use consistent naming for easier filtering later
Recipe Settings
Quantity Mode
Choose how ingredient quantities are interpreted:
| Mode | Description | Example |
|---|---|---|
| Prepped | Final amounts after trimming and waste | "1 cup diced onion" = 1 cup after dicing |
| Purchased | Raw amounts as bought | "1 cup onion" = 1 cup before any prep loss |
When to use Prepped mode:
- Most recipes where you want to specify exact amounts needed
- When your prep yields are already accounted for in the ingredient quantities
When to use Purchased mode:
- When you want the system to calculate prep loss automatically
- When tracking purchasing quantities is more important than final amounts
Media & Description
| Option | Description |
|---|---|
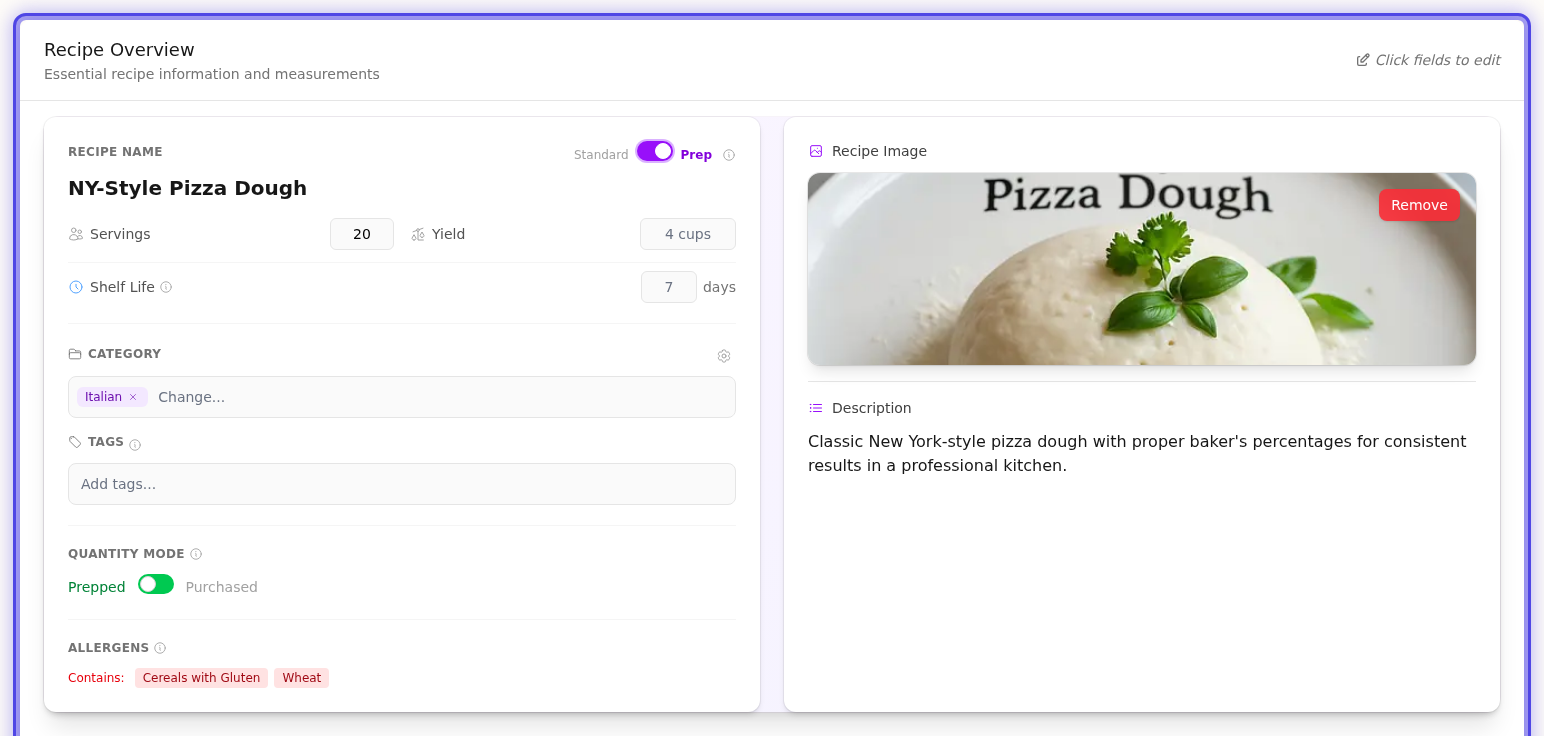
| Recipe Image | Upload a photo of your dish. Drag and drop or click to browse. Supports PNG, JPG, and GIF up to 5MB |
| Description | Add a text description for your recipe—perfect for notes about the dish, serving suggestions, or background story |
Tips for Great Recipe Images
- Use well-lit photos that show the finished dish
- Square or landscape orientations work best
- Keep file sizes reasonable (under 2MB loads faster)
Allergens
Allergens are automatically detected from your ingredients and displayed in three categories:
| Category | Meaning |
|---|---|
| Contains | Allergens definitely present in the recipe |
| May Contain | Potential cross-contamination from ingredients |
| Traces | Trace amounts that may be present |
Note: If you're using prep recipes as ingredients, allergens automatically propagate to the parent recipe. No manual tracking needed!
How Allergen Detection Works
- Each ingredient in your database can have allergens assigned
- When you add that ingredient to a recipe, its allergens appear automatically
- If you use a prep recipe as an ingredient, its allergens flow through to the parent recipe
Common Questions
Q: Do I need to fill in all options?
A: No! Only the recipe name is required. Everything else is optional and can be added later.
Q: Can I change between Standard and Prep after creating a recipe?
A: Yes, you can toggle between Standard and Prep at any time using the toggle switch.
Q: Why isn't my category showing up?
A: Categories are managed separately. Go to Settings → Categories to create new categories first.
Q: How do I remove an allergen?
A: Allergens are auto-detected from ingredients. To remove an allergen, you'll need to update the allergen settings on the ingredient itself.
Next Steps
- Creating Recipes - Learn how to build recipes
- Scaling Recipes - Scale recipes up or down
- Prep Recipes - Create reusable prep components
Last updated: July 11, 2026